
DIY Hack for Canon LP-E6 Batteries
Keeping batteries charged for your camera and accessories is the bane of the professional photographer. With the increasing popularity of battery-hungry mirrorless cameras like the Canon EOS R5 and R6, this has become all the more challenging and important, and that’s what drove me to create this simple hack to track which batteries are charged, and which ones need to go into the AC charger when I get home from a shoot.
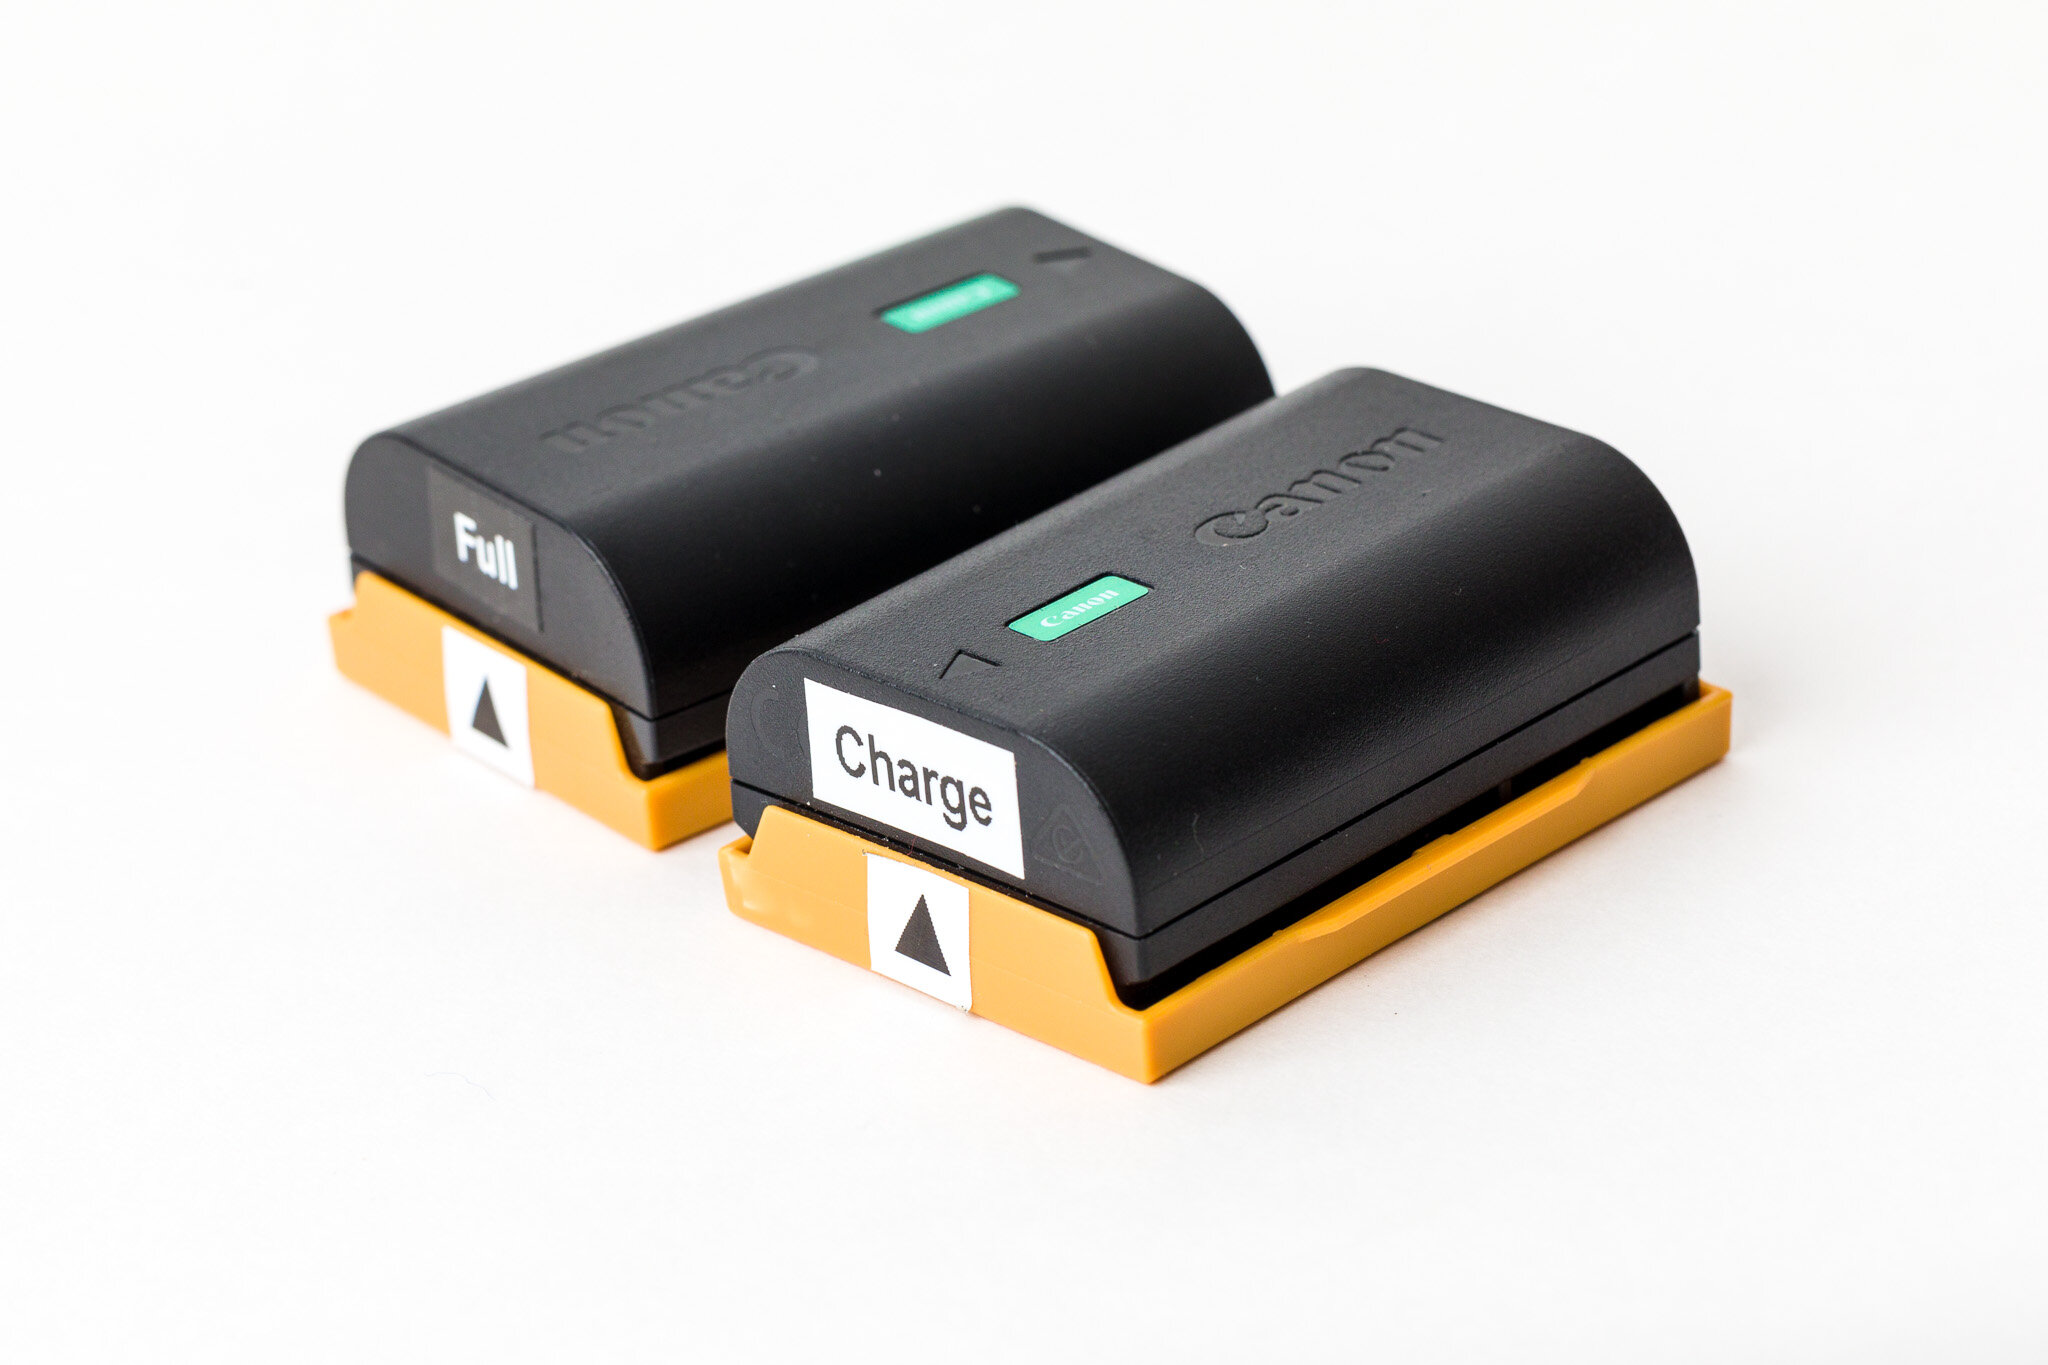
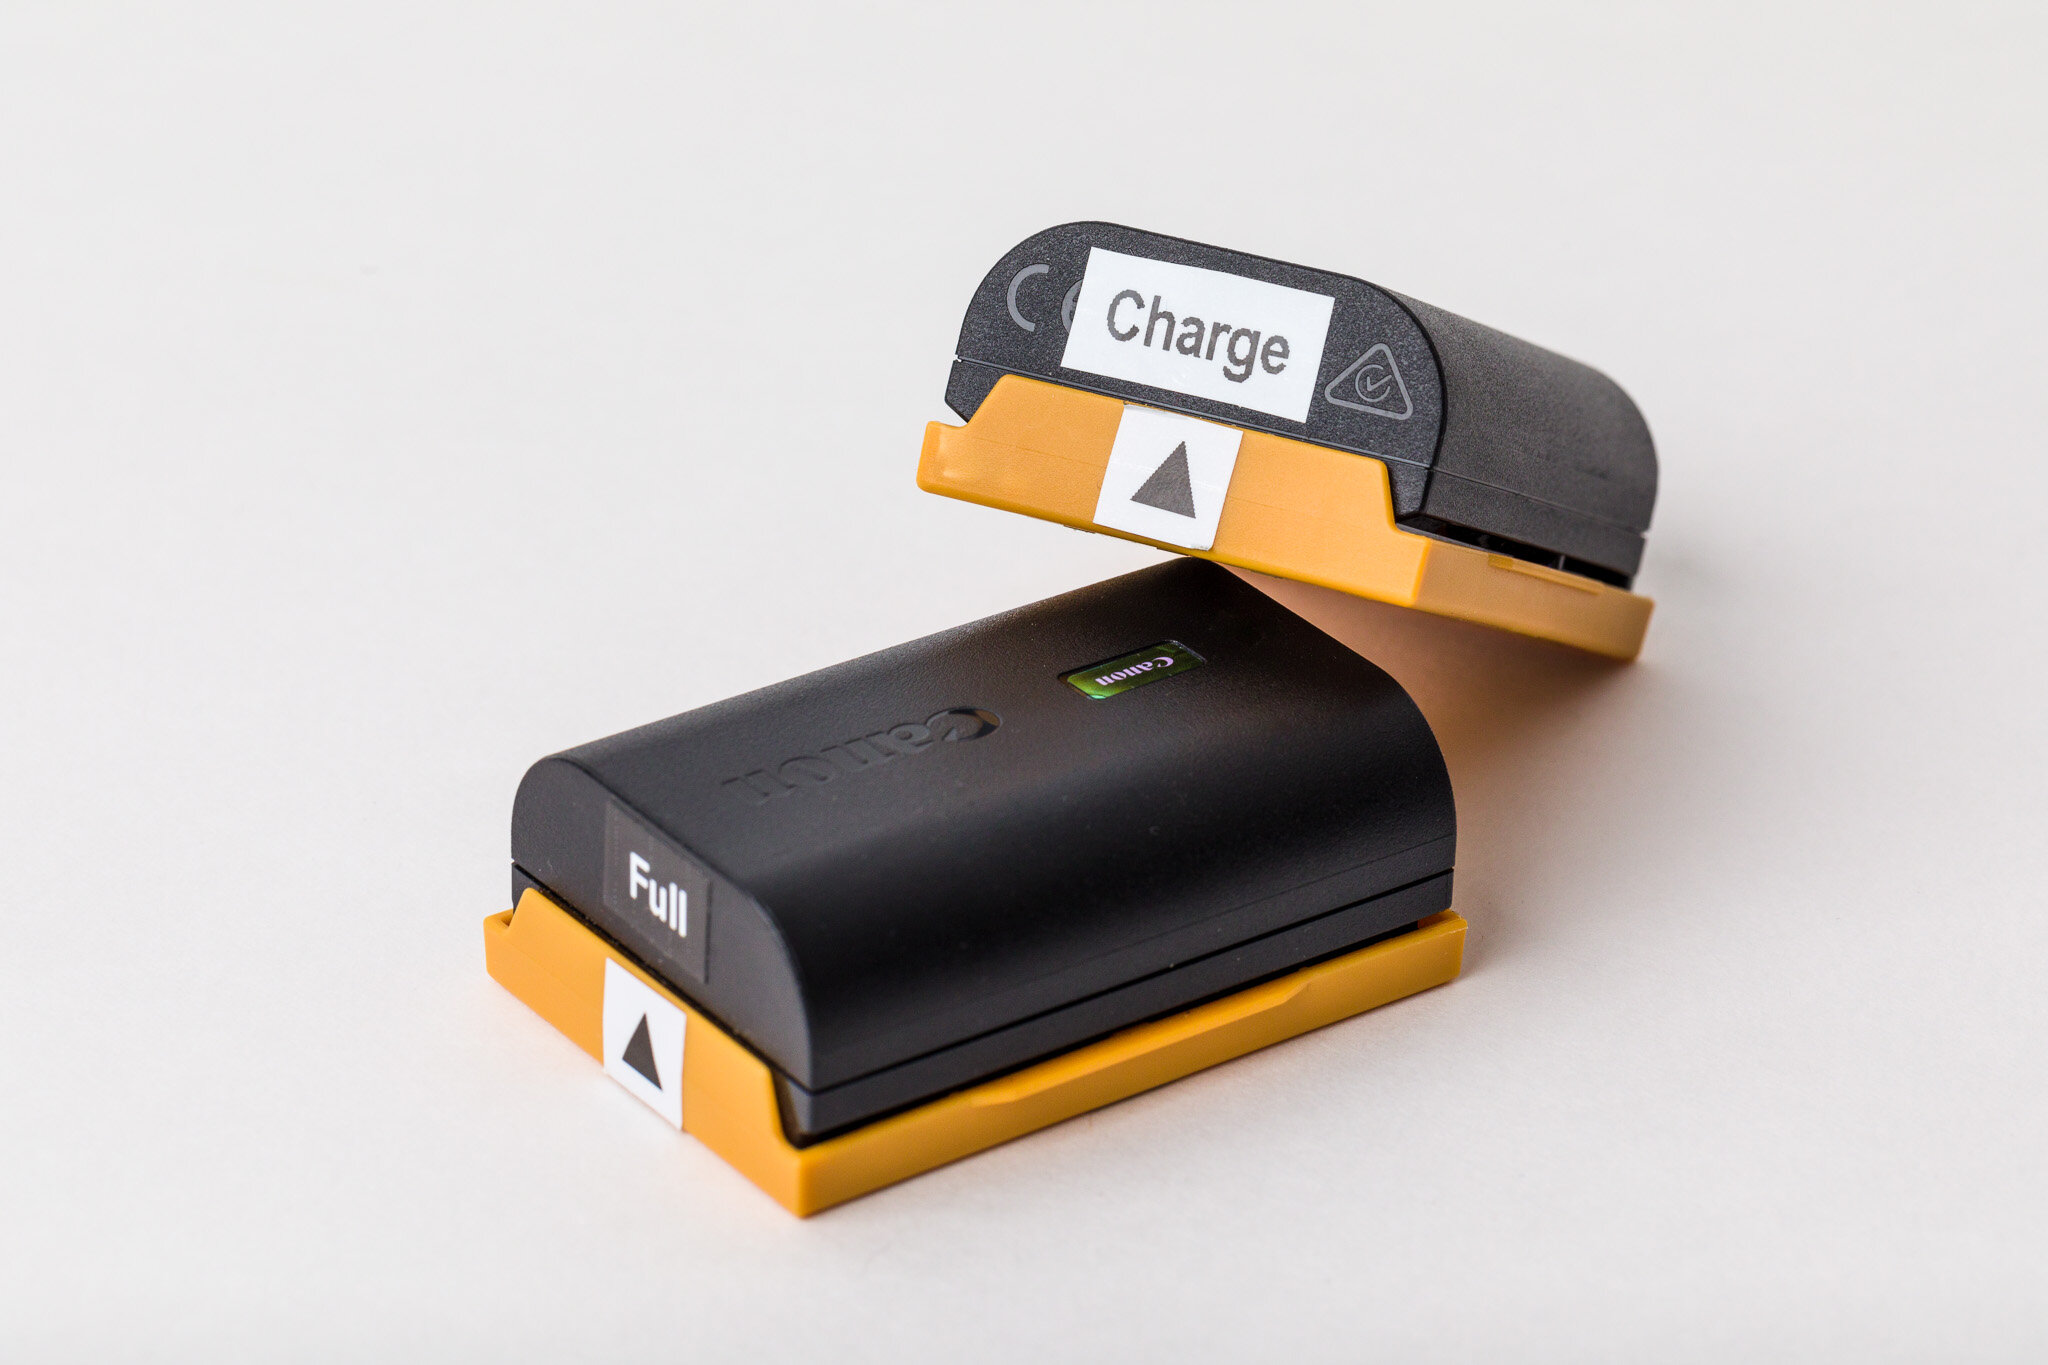
I use a simple labeling system with the orange, reversible battery contact cover to designate the charging status and condition of each battery. After charging, I simply clip the battery cover on with the arrow pointing towards the “Full” label affixed to one end of the LP-E6 battery, as shown here:
In the field, whenever a battery runs out, I insert a new battery into the camera and attach its contact cover to the spent battery I just removed so that the arrow on the cover points towards the '“Charge” label affixed to the other end of the battery.
When I get home from a shoot and open up my camera case, I instantly know which batteries were used and need to be recharged in the AC adapter, and which ones are still fully-charged. The “Full” and “Charge” labels are color-coded so the battery status is visually apparent, even without reading the labels.
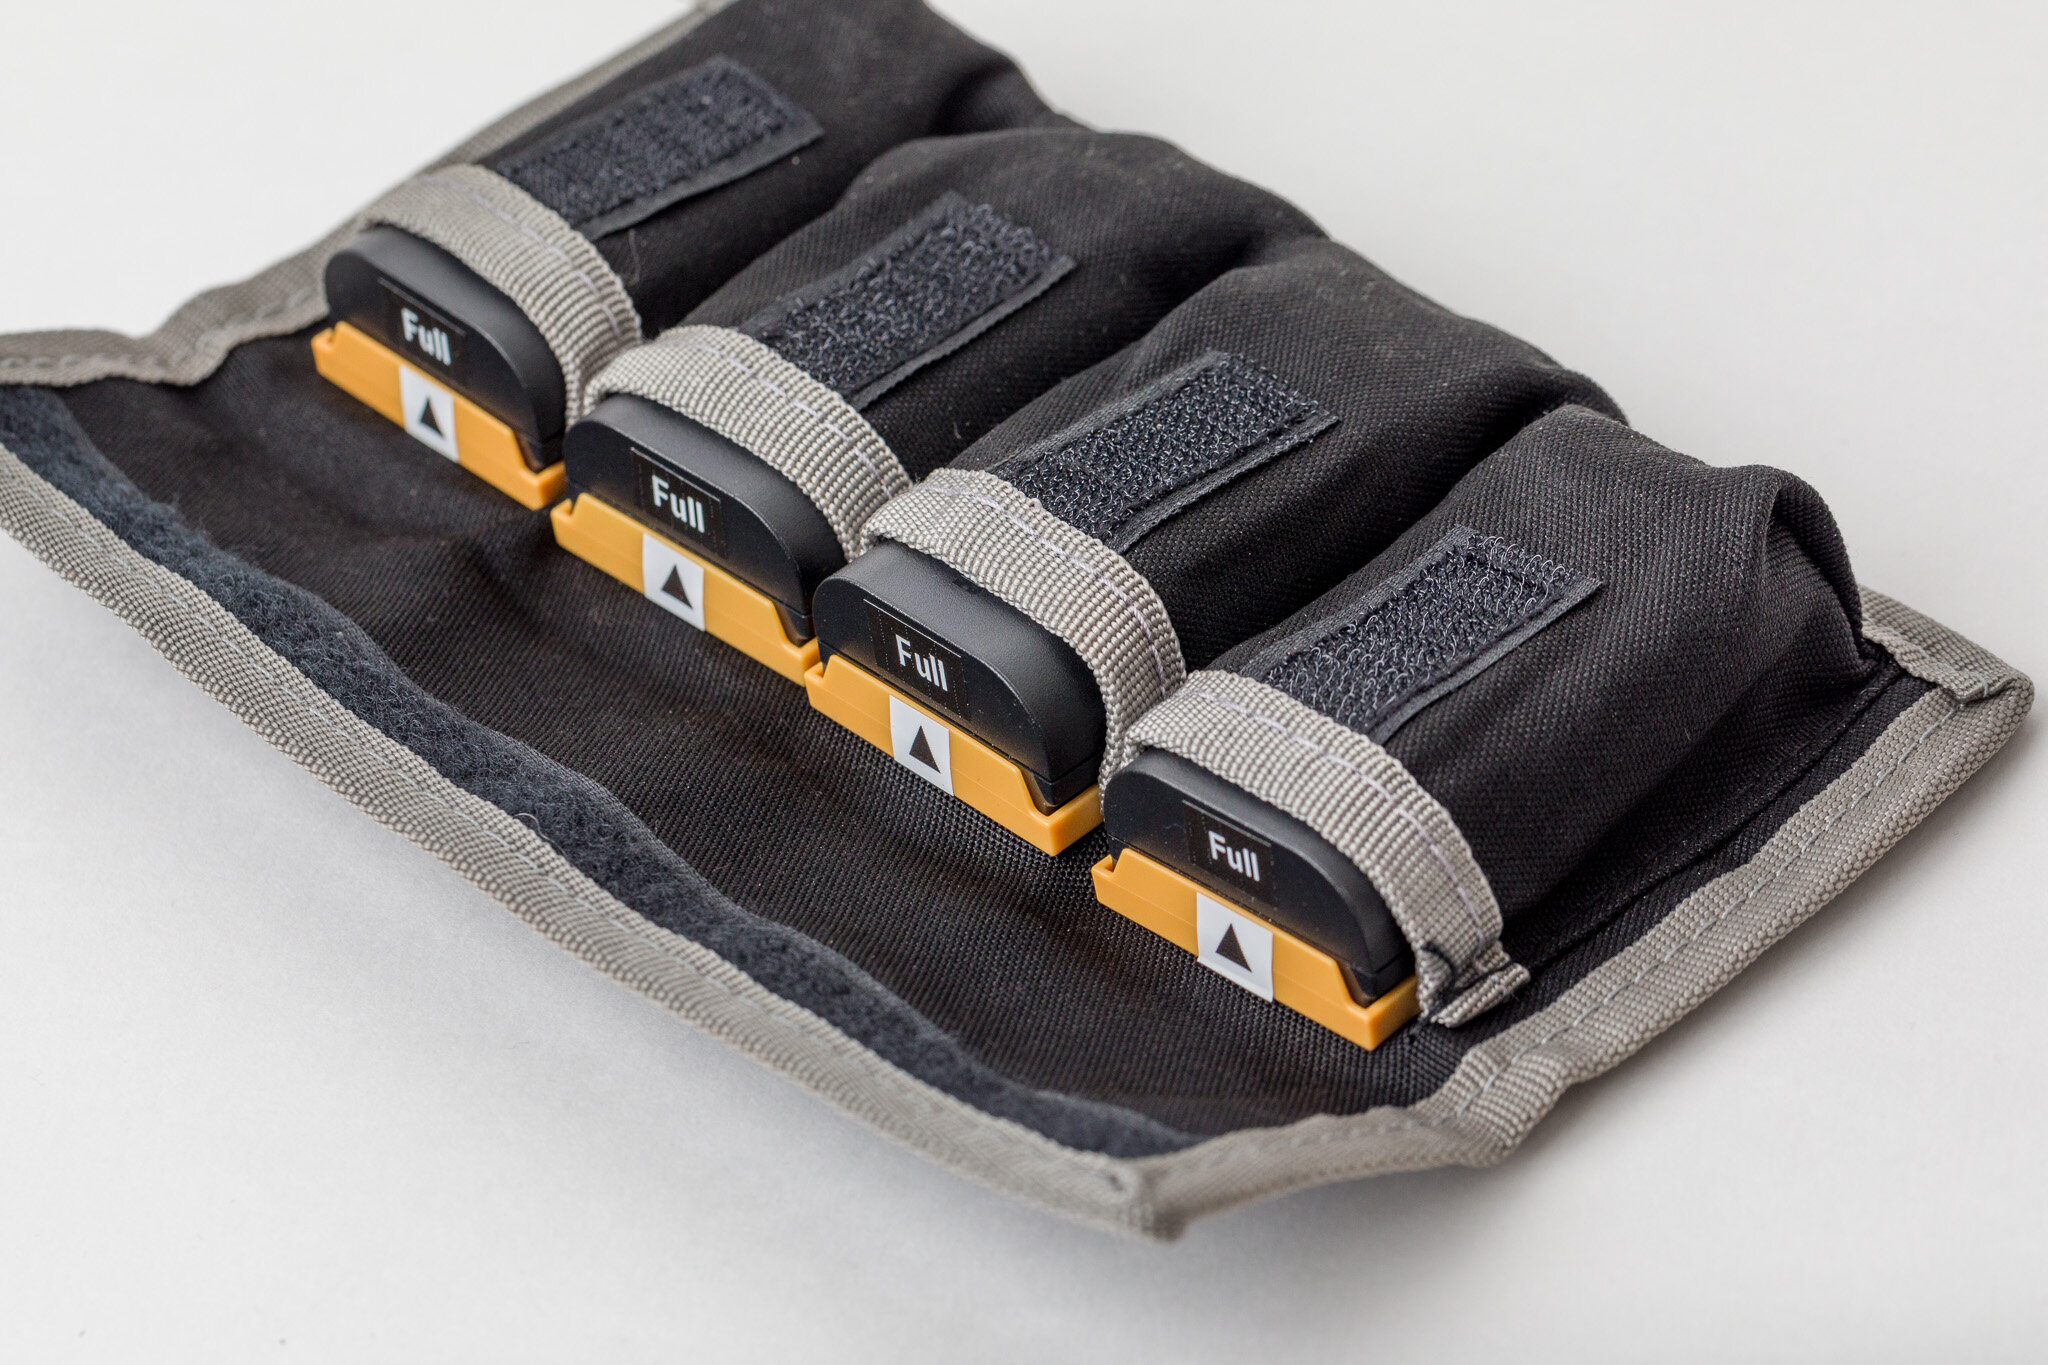
This approach also allows me to rotate them through by putting freshly-charged batteries back in at the top of the stack, and taking them off the bottom of the stack, to equalize wear and charge cycles, and ensure none of them discharge too much due to lack of use.
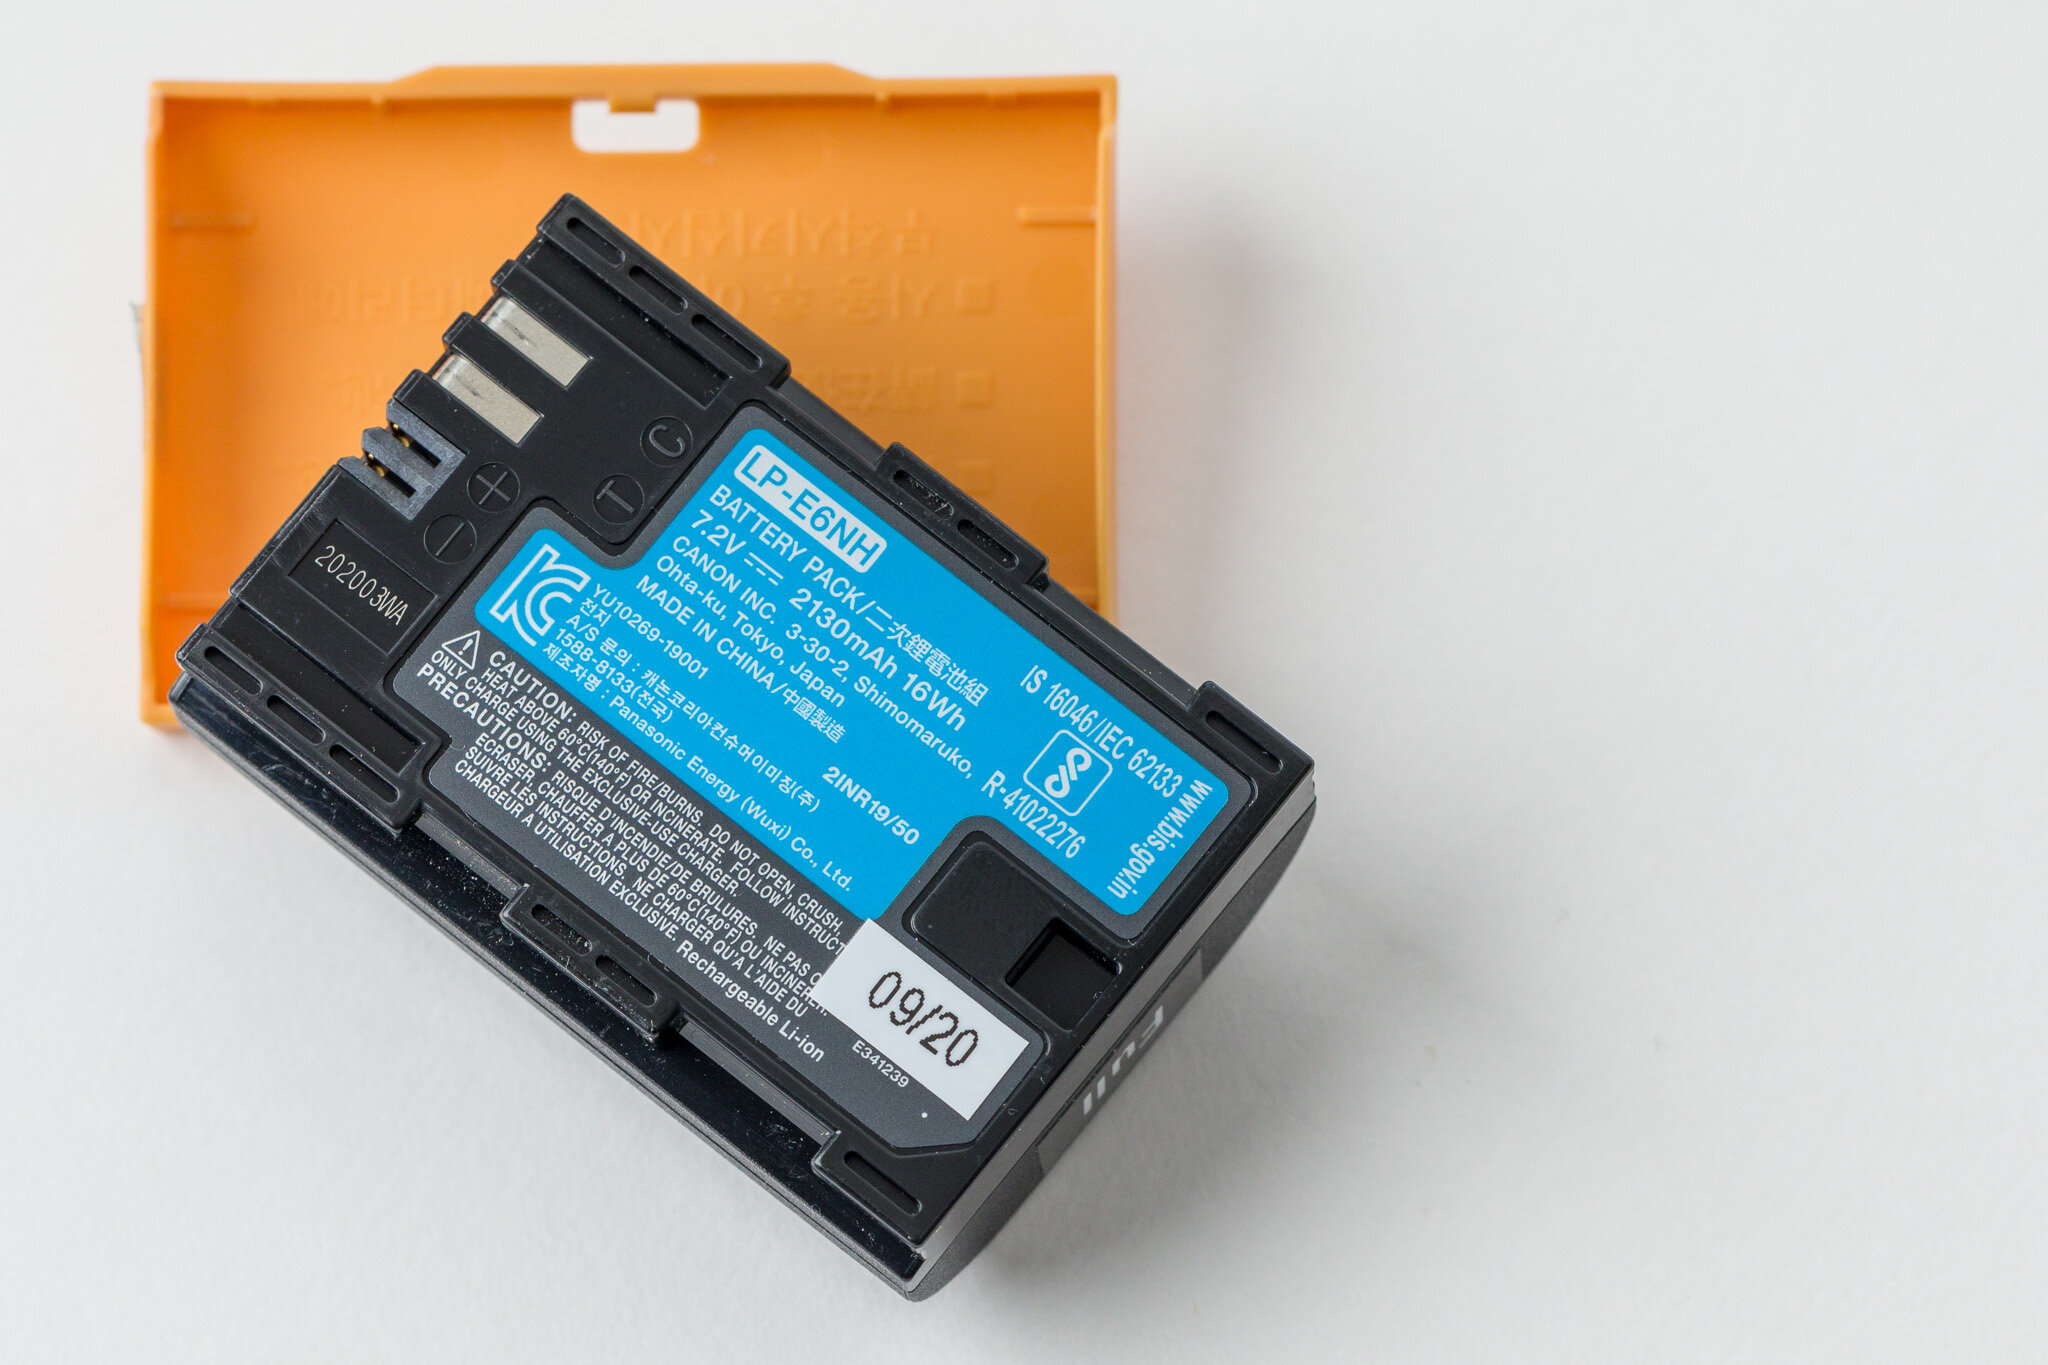
One additional thing I do is to attach an “in-service date” label to the back of the battery so I know when I bought and started using it, to differentiate newer batteries from older ones that may be wearing out. In this example, I began using the battery in September 2020. Of course, you can always check battery health and charge cycles from the back of the camera, but this is a nice visual reminder.
To implement this organizational scheme, I used my Brother PT-D450 label printer. If you’d like to print your own labels, I’ve included my label design, which you can open, edit and print using the Brother P-Touch software (available for both Mac and Windows). You can download my template here.
On a related note, if you’d like to learn about my Pelican 1500 Case design for the Canon EOS R5 and the “holy trinity” lenses using TrekPak padded dividers, you can check out that blog post here.

I’d love to see Canon add these markings to their batteries in the future. What tricks do you have for keeping track of your gear?